 F-2 MISSIONS
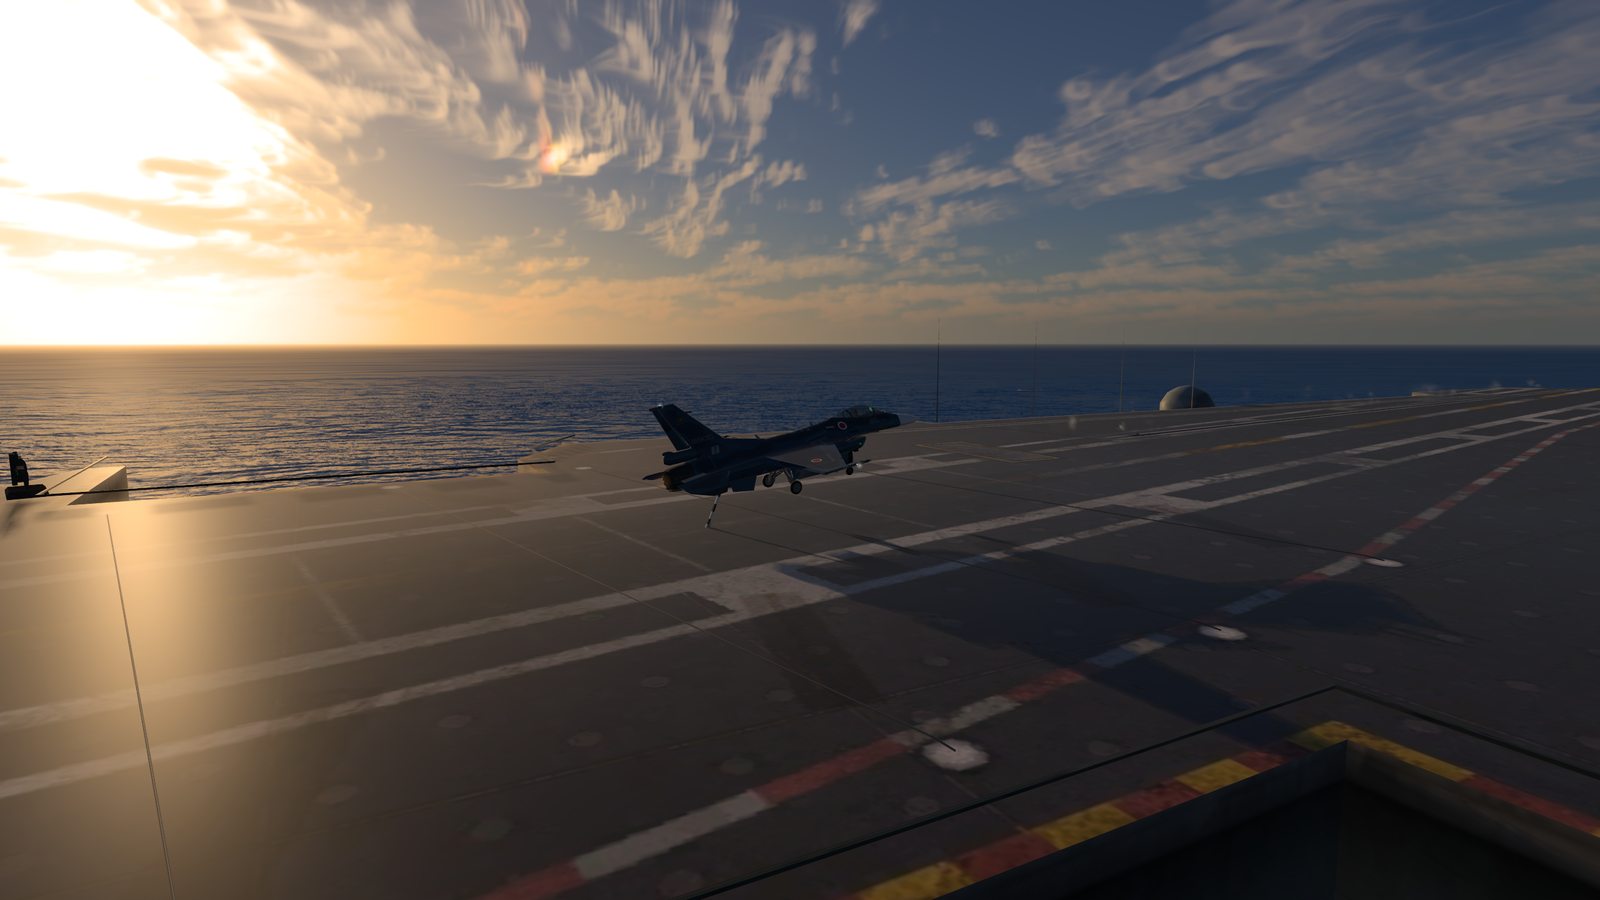
Carrier Landing
From a deck painted on a runway to the carrier VANGUARD under way at sea. Fly the ball, catch a wire with the hook — and if you miss, full power, go around, and try again.
AT A GLANCE
- Where
- Matsushima Air Base (painted deck)
The carrier VANGUARD - Sorties
- 6
- Glideslope
- 3.5° (the ball on the optical landing system)
- Target AoA
- About 11°
- Wires
- 4
- The carrier
- 332.8 m long (true size), under way at 25 knots
The heart of Chapter 2. You do not go straight out to sea. First a box the size of the deck is painted in white on the runway at Matsushima, and you fly two sorties onto ground that does not move. Then you head for the carrier VANGUARD.
The mission
A carrier landing is not just getting down. It is arriving on a short stretch of a moving deck at a set angle and speed, and catching a wire with your hook to stop.
VANGUARD is built at true size — 332.8 m long — and she keeps steaming ahead at 25 knots. The deck you are aiming for moves away from you all the way down the approach.
How it flows
| # | Sortie | What you do |
|---|---|---|
| 1 | PAINTED DECK | Land inside the deck painted on the runway. Treat everything outside the box as sea |
| 2 | WIRE TRAP | Wires go across the painted deck. Getting down is not enough — the landing ends when you have caught one and stopped |
| 3 | TOUCH AND GO | Now on the carrier. Hook up: kill the sink, put the wheels on the deck and power up without stopping |
| 4 | CALM DAY | A flat sea and VANGUARD steaming straight. Come in from dead astern and aim for the three-wire |
| 5 | NIGHT TRAP | Only moonlight on the water. Don’t trust your eye — fly the same approach you fly by day |
| 6 | FIND THE BOAT | The rendezvous point is off. Find the carrier yourself, then land on her |
What it asks of you
Fly the ball
The ball on the optical landing system (FLOLS) on the port side shows whether you are high or low against a 3.5° glideslope. Ball above the row of datum lights: you are high. Below: you are low. Too low and the ball turns red. The same ball is shown on the HUD.
The ball only tells you where you are. Fixing it is up to you — nothing steps in and flies the jet for you.
11 degrees of alpha
You set your speed with angle of attack. The target is about 11°. Hold that slightly nose-high attitude all the way onto the deck.
A wire only catches if the hook sweeps it
There are four wires, and one catches only at the moment the hook actually sweeps across it. Touch down too far along the deck and the hook never meets a wire at all.
Miss all four and it is a bolter. The mission goes on: full power, off the deck, go around and try again. The only thing that limits how many tries you get is the clock.
How it is scored
Each landing is scored on sink rate, centreline, angle of attack, and which wire you caught. Slam it on and the sink rate costs you; drift off the line and the centreline does.
Difficulty comes from the conditions
What changes between NORMAL, HARD and ACE is not the rules but the conditions: a calm day, then crosswind and fog, then night and rain. Reading the ball does not change, and neither does the number of wires. What changes is what you can see, and the wind.
GALLERY
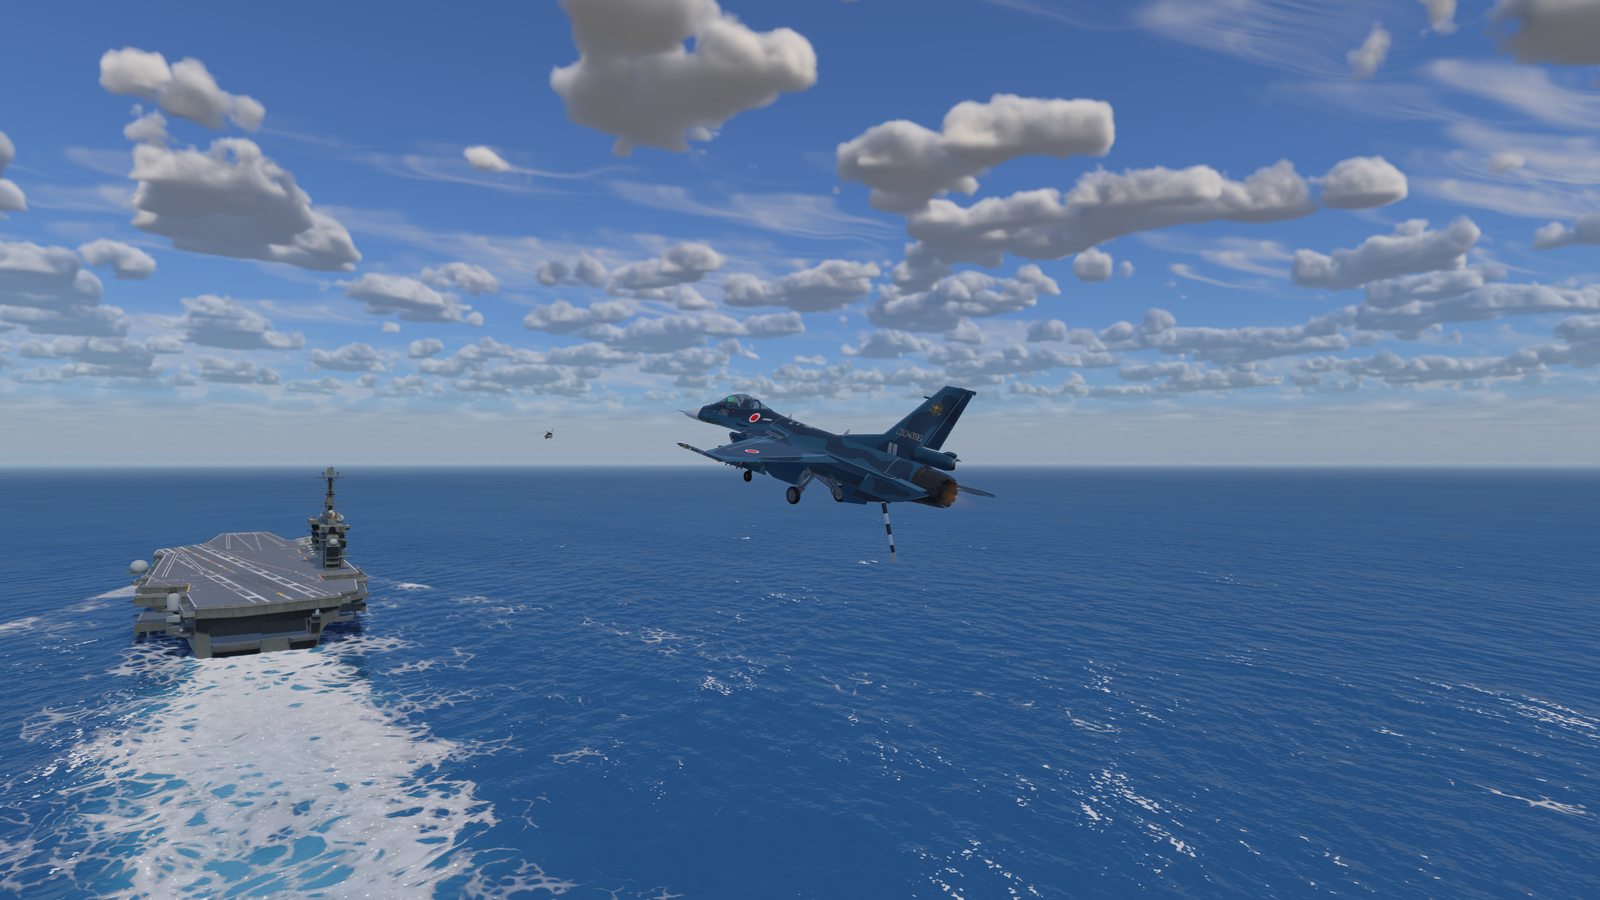
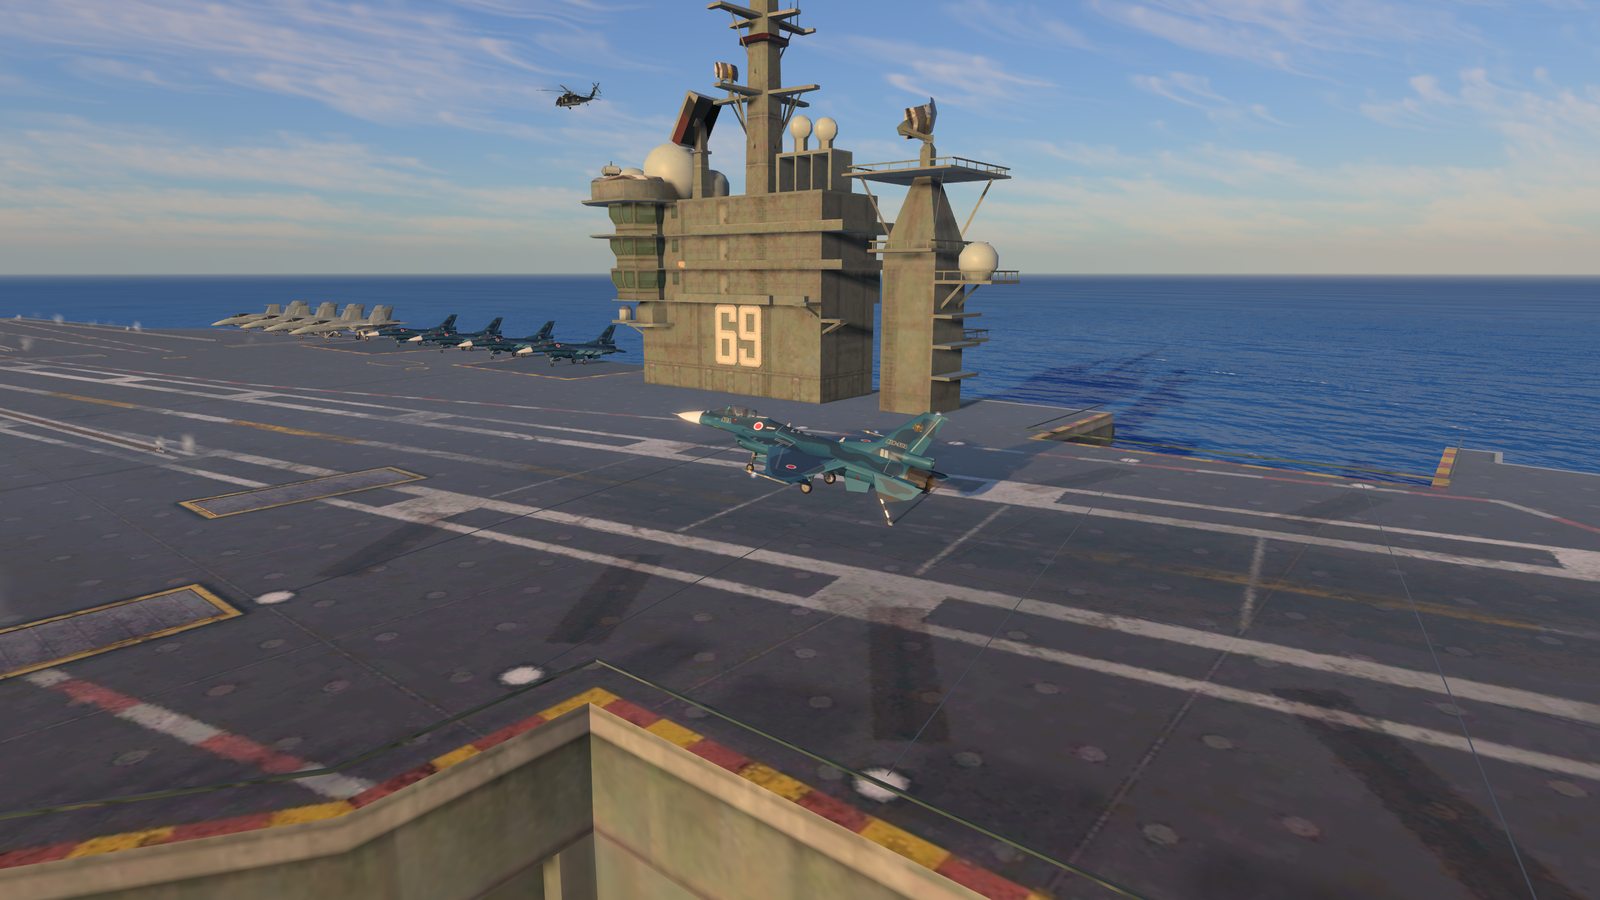
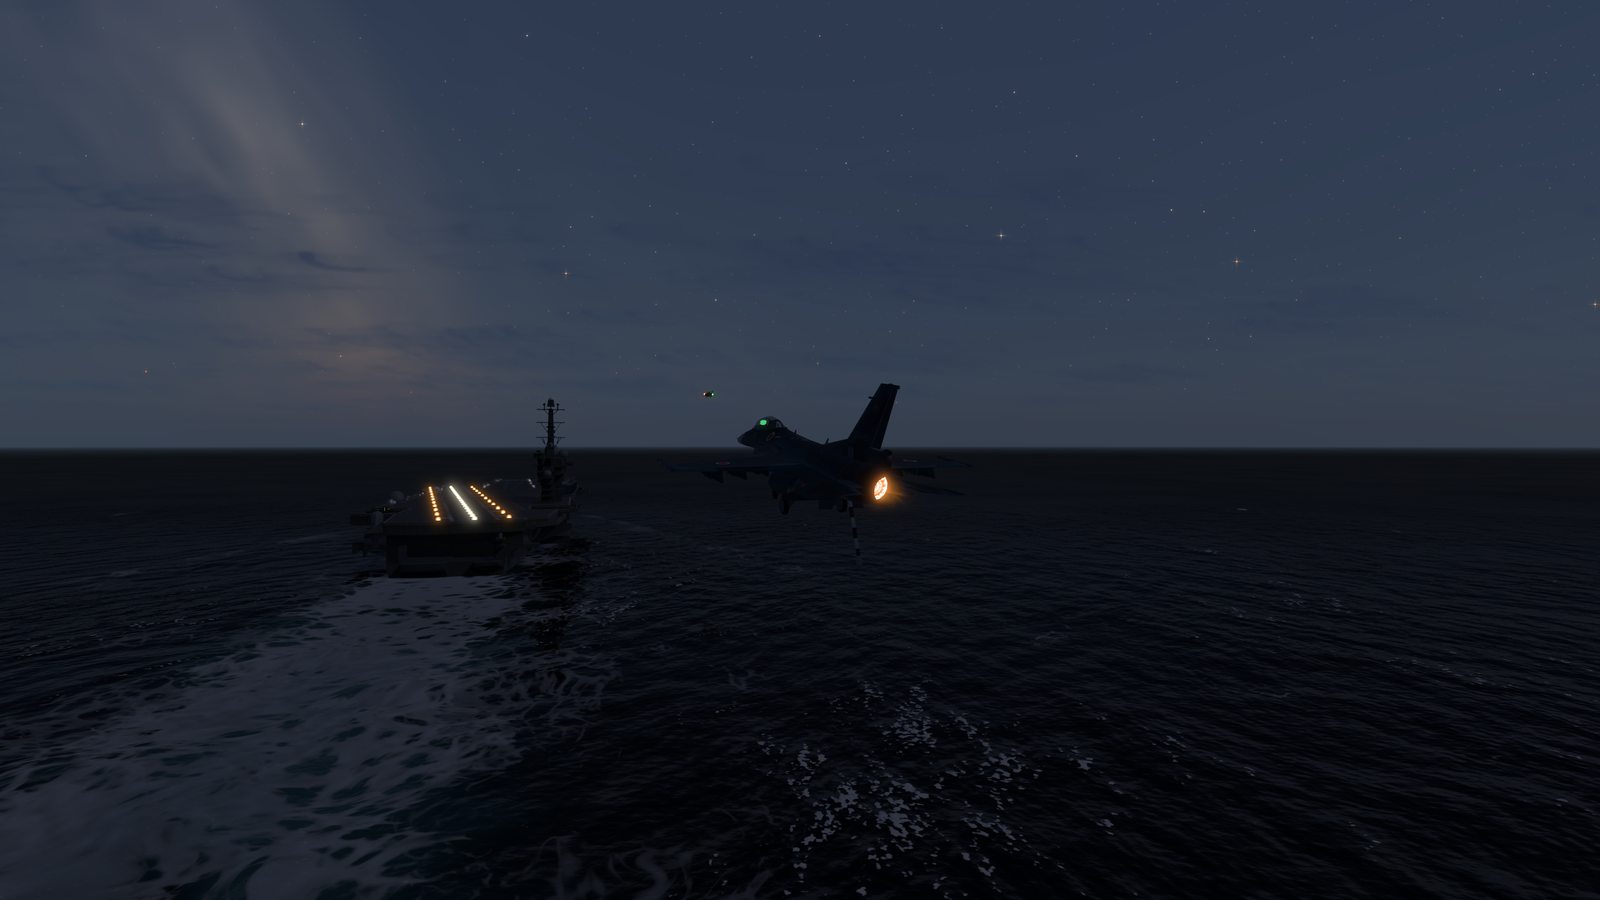
The major missions of the campaign in the Steam edition (Windows / Mac). Content may change in updates.